Sending sales order confirmations saves time for both the merchant and customer. The iSolutions app created this convenient feature to allow a customer to approve a sales invoice and pay it online. Here’s how to do it:
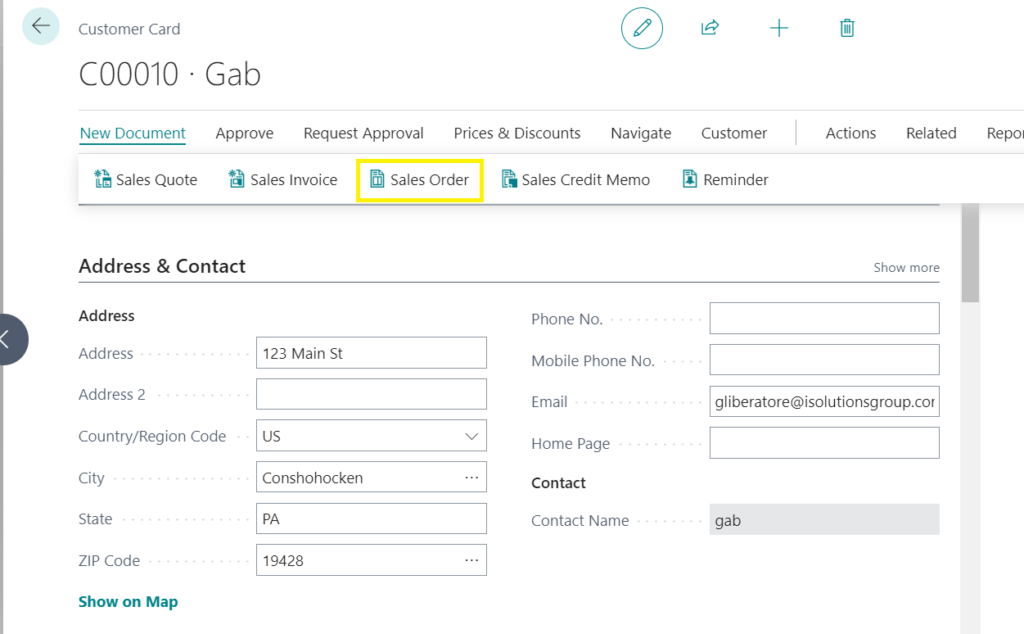
To start, open Microsoft Dynamics 365 Business Central and go to the customer record. From here, you can select “New Document,” followed by “Sales Order.”
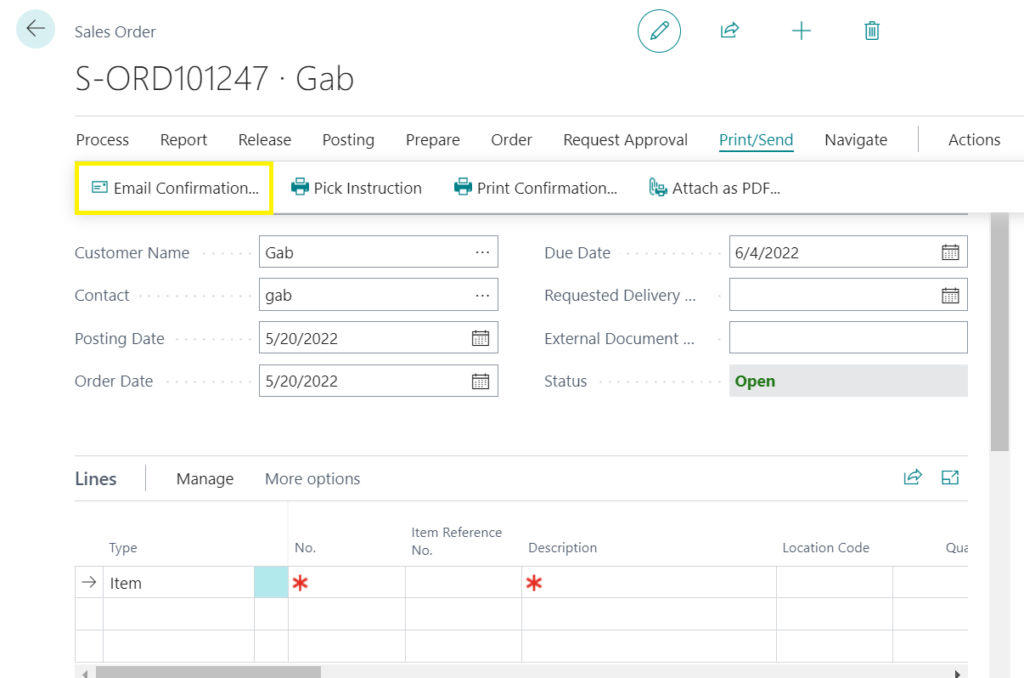
Next, add your line item(s) for the sales order and then click “Print/Send,” followed by “Email Confirmation.”
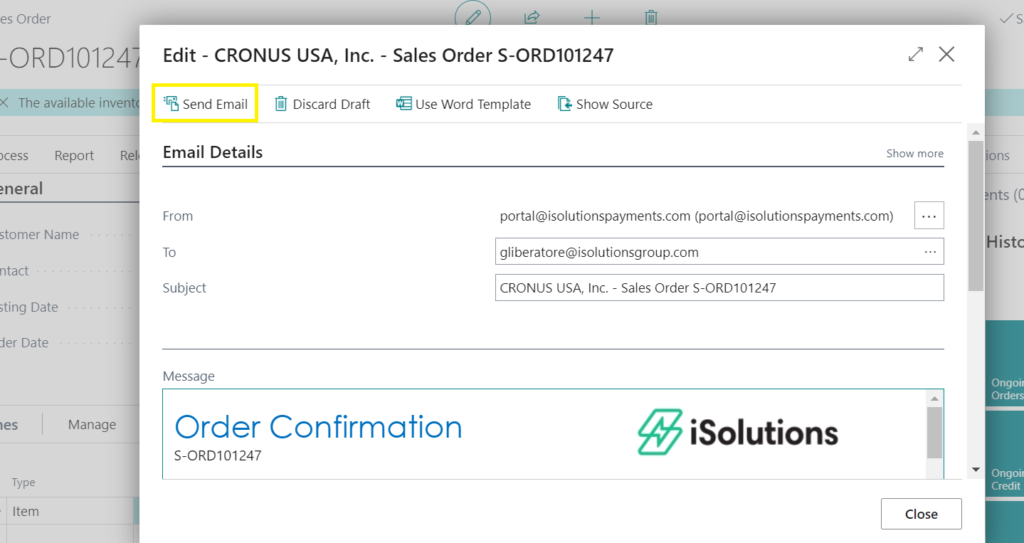
This screen will pop up, where you can adjust who you are sending the email to. Once you fill the email out, you can click “Send Email.”
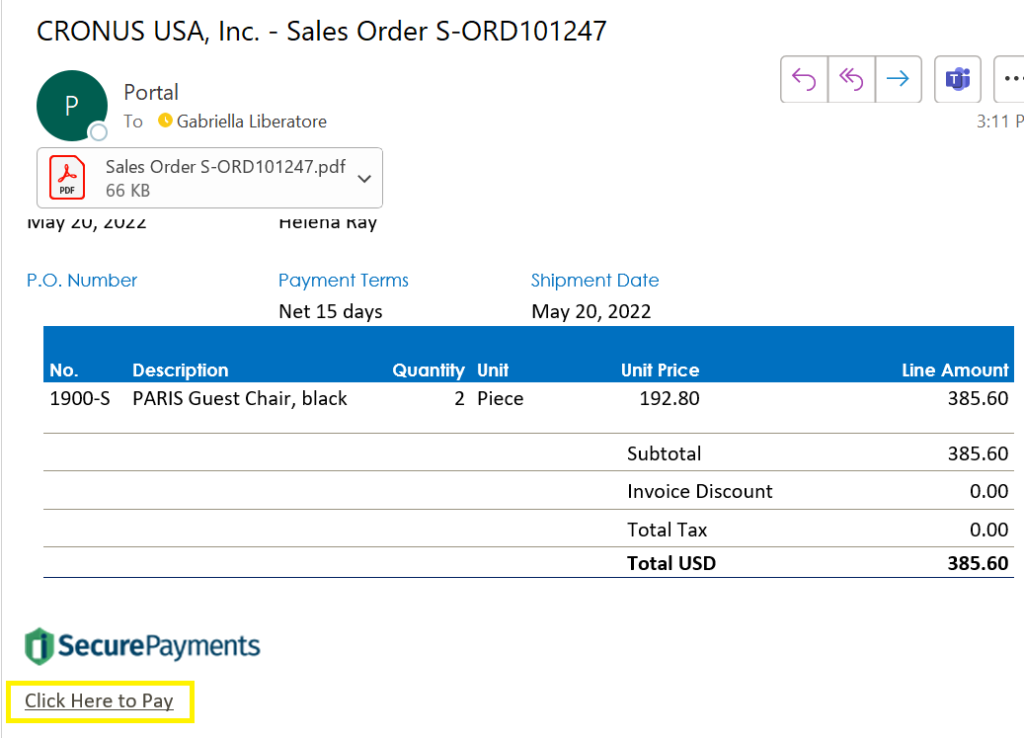
Your customer will get an email that looks like the below example. They can review and click the “Click Here to Pay.”
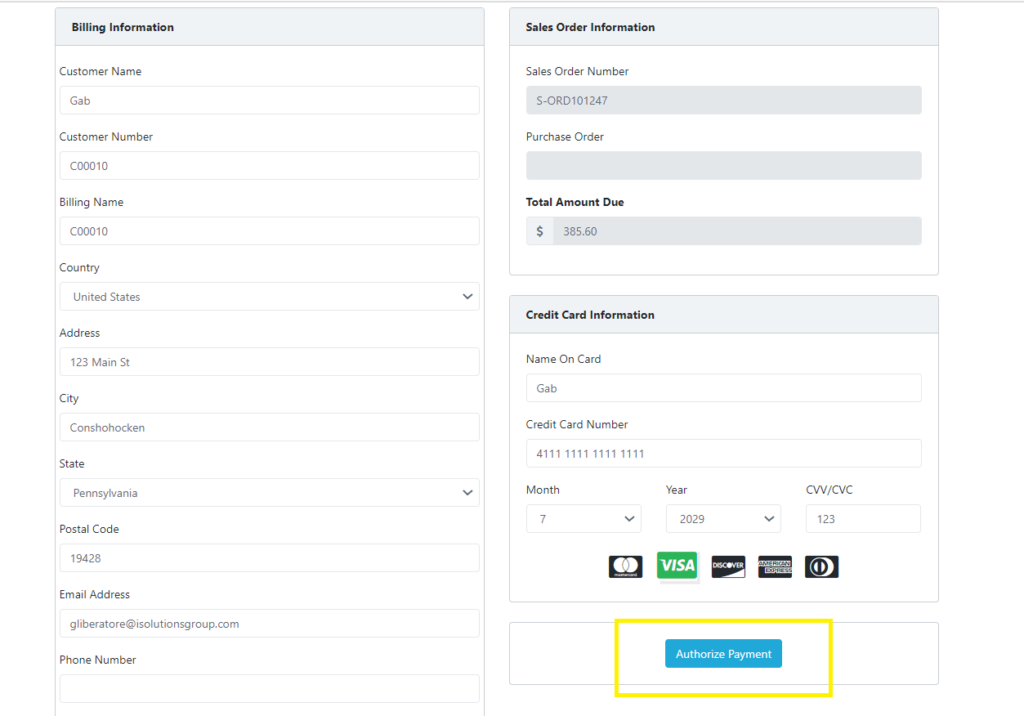
They will then be taken to the following page, where they can enter their credit card information securely. Once they do that, they will click “Authorize Payment.”
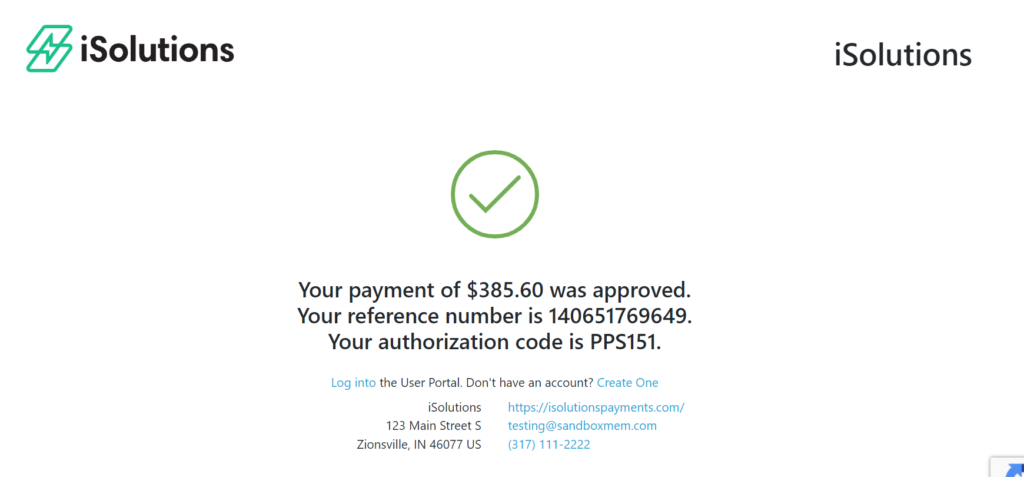
The next screen will let them know that their payment was approved.
Next, you can go back to Business Central and open the sales order. If you scroll down, you will be able to see the authorized amount listed. This is also the time you can add any additional charges (shipping, freight, etc). After you have your sales order ready, click “Posting” and then “Post.” You can then open the posted invoice and see it was closed. Your customer will also receive a receipt letting them know that their payment was received.

Download the iPayment App here.

