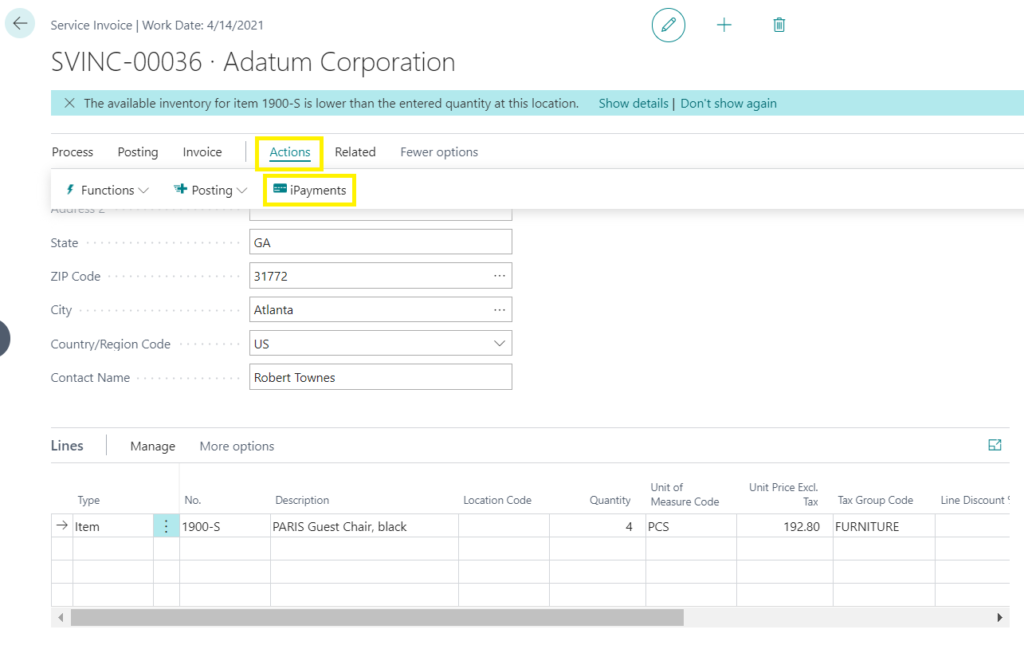
To use the service invoice feature, start by opening up Microsoft Dynamics 365 Business Central and go to Service Invoices. Once there, you can go ahead and fill it out, similar to a regular invoice. After it is complete, you can select Actions > iPayments.
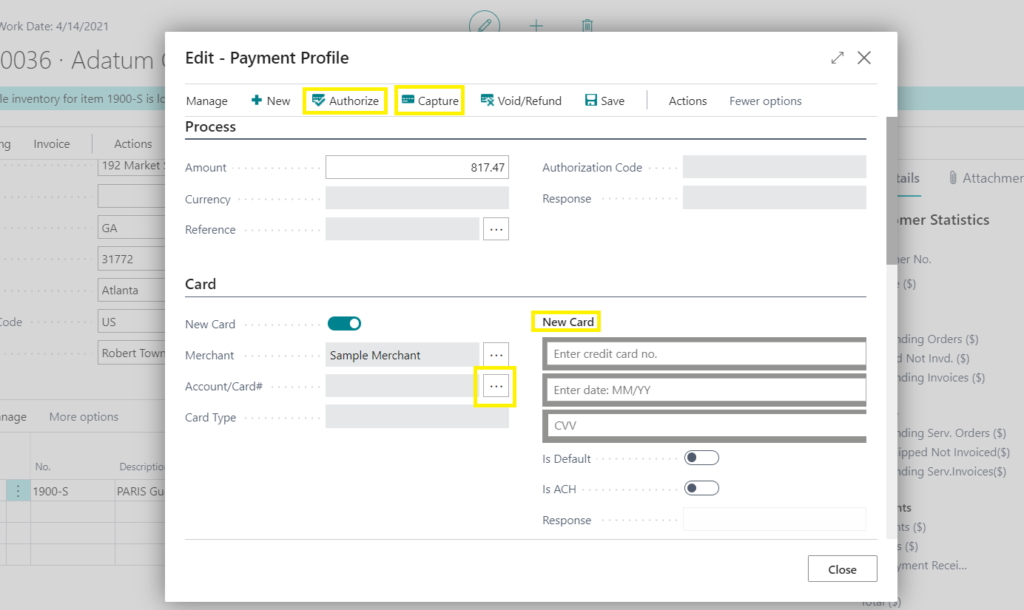
Doing so will bring you to the following window. The first thing to do is either input a new card, or select a card already stored on the customer’s profile using the three dots. After the card is selected, you can choose to either authorize or capture the payment. In this example, capture was selected. A notification will pop up to let you know a Cash Receipt Journal Line was created. All that is left to do is post the invoice.
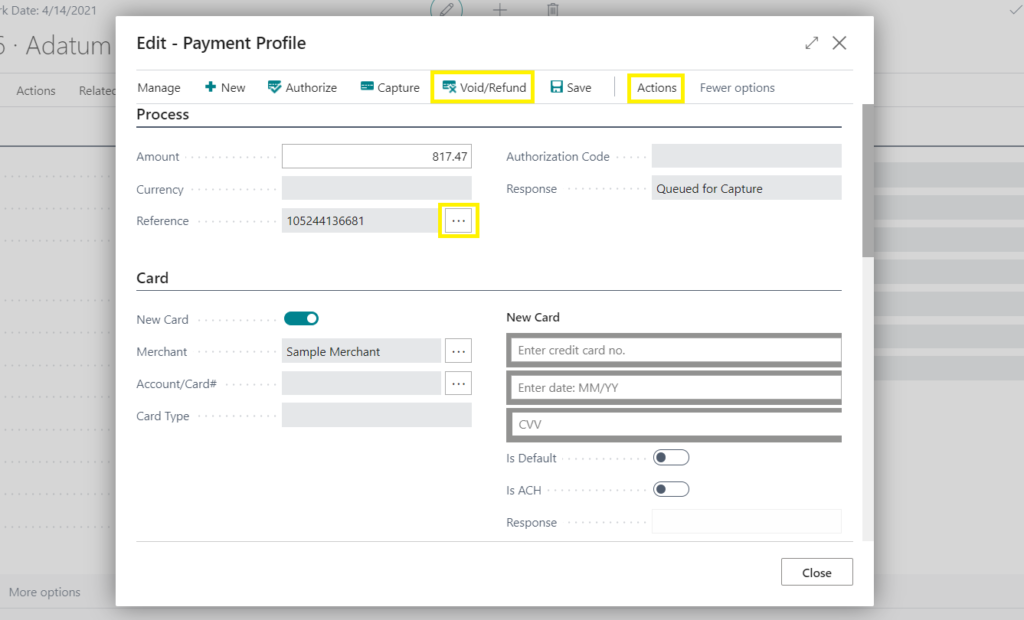
After posting the invoice, you can open it up and select Actions > iPayments, which will bring you to the below window. This window will allow you to pull up the reference and Void/Refund the transaction. You can also go to Actions > iPayments and email or print the receipt from this page.
Download the iPayment App here.